
Recent articles (showing 1-10 out of 69):
WARNING: This post has been marked as obsolete and may be incorrect. It is kept for archival purposes only.
A few people have asked me recently how to install FreeBSD 8.1. A few managed it by themselves, but using auto defaults which can cause various problems. So I decided to publish this guide. It uses the simplest method for users (not always "the best", but certainly working) – I have taken screenshots throughout the entire process to assist you in installing.
First of all, download and burn the installation CD (disc1) or DVD (dvd1) image from your nearest FreeBSD mirror. For our purposes, there is no difference between the two images.
Boot from the CD/DVD, and you will reach the following screen:
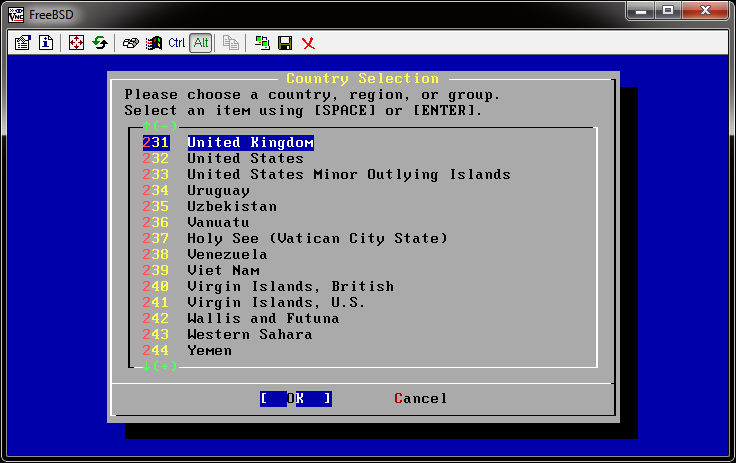
Choose your language from the list. As i'm in the UK I will select United Kingdom with the cursor keys, and press Enter. You will see the next screen:
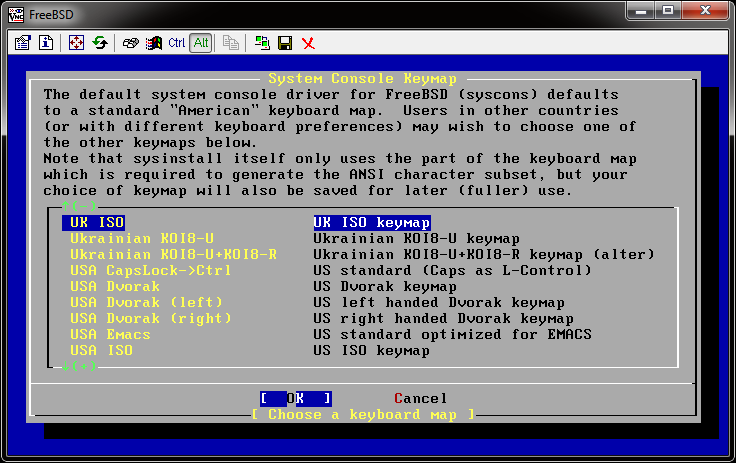
You need to select your keyboard layout here. I will choose UK ISO for me and press Enter. This will bring us to the next screen:
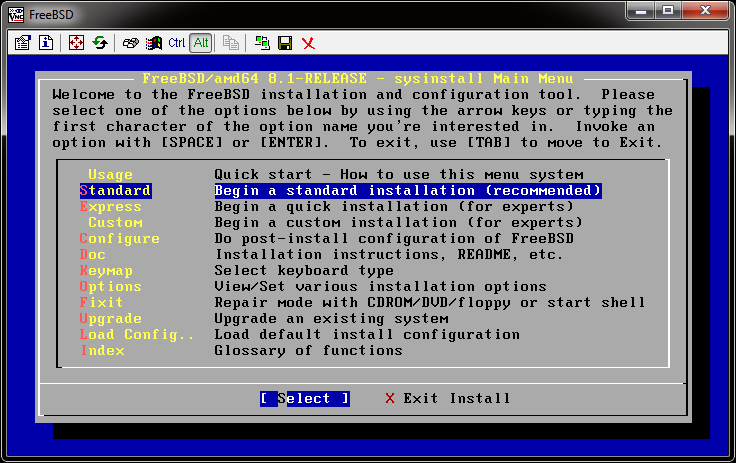
Select 'Standard' from the menu and press enter to move to the next screen:
This is just an information screen so press enter to move to the next screen:
NOTE: you will only see this screen if you have more than one disk drive in your computer. If you do not see this screen, skip to the next screenshot.
Select the first disk (either ad0 or ad4 or da0 depending on your computer setup) using the space bar to go to the next screen (if you have a single disk only, you will automatically go to the next screen):

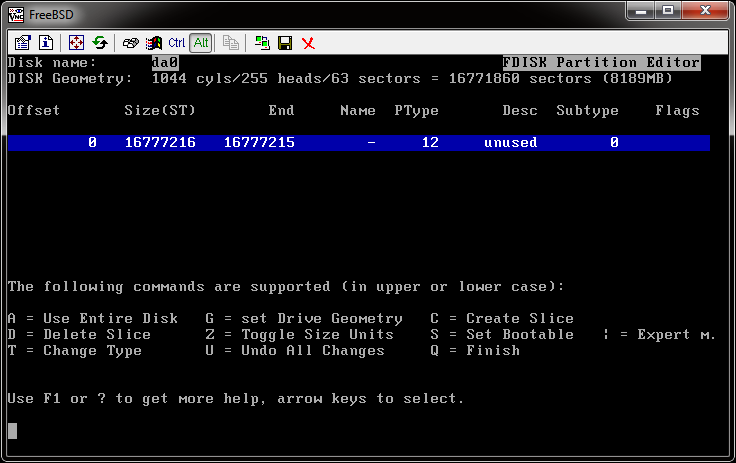
If you are using an existing disk, you will have more than one line shown here. Use the cursor keys to go down to all the entries and press D to delete them. Repeat until you only have one line (unused). Press A for use entire disk followed by Q to go to the next screen. (If you have multiple disks, you will go back to the previous image – press TAB then enter to continue to the next screen if so)
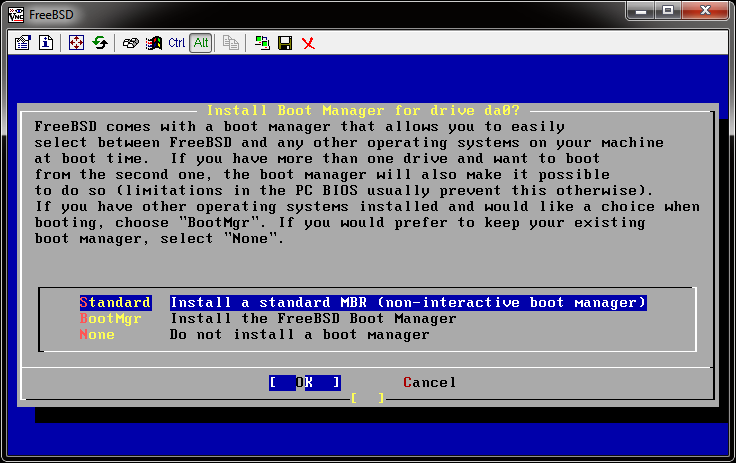
This page allows you to select a boot manager. You don't need a boot manager for FreeBSD, so choose 'Standard' and press enter to continue to the next page:
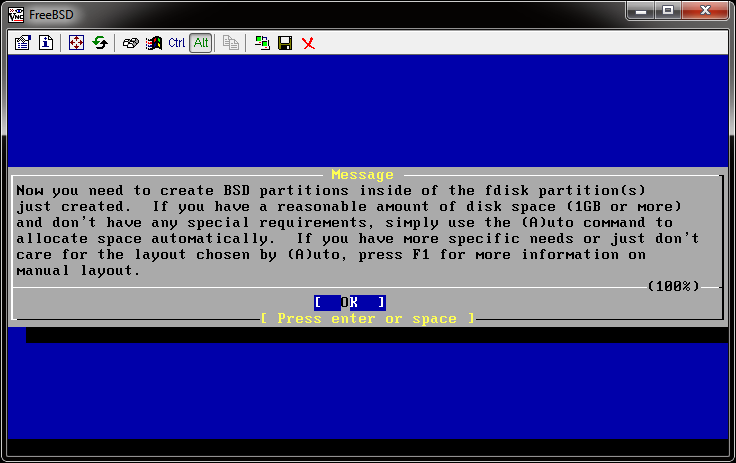
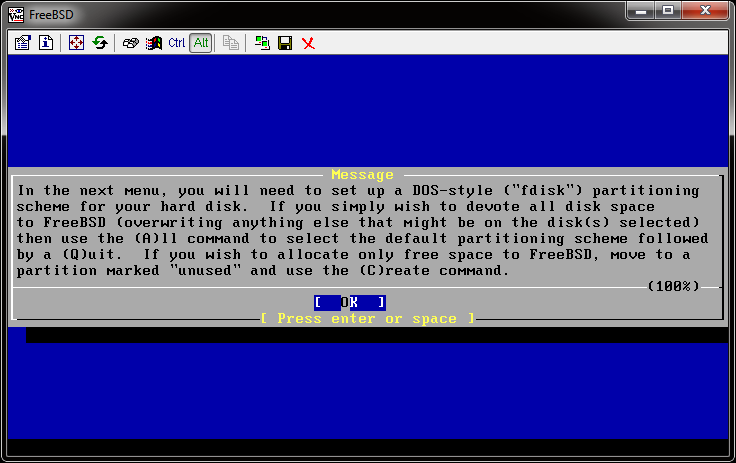
This is an informational page again, press enter to continue to the next screen:
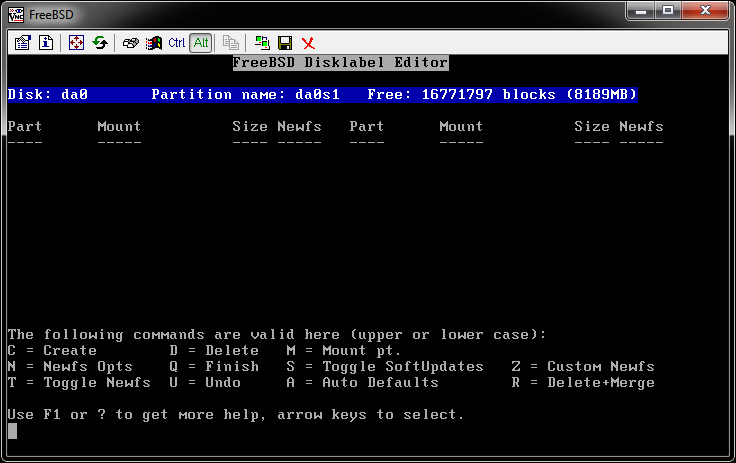
This is where most people choose Auto defaults – but this is almost always not suitable for you. Instead, press C to create which goes to this screen:
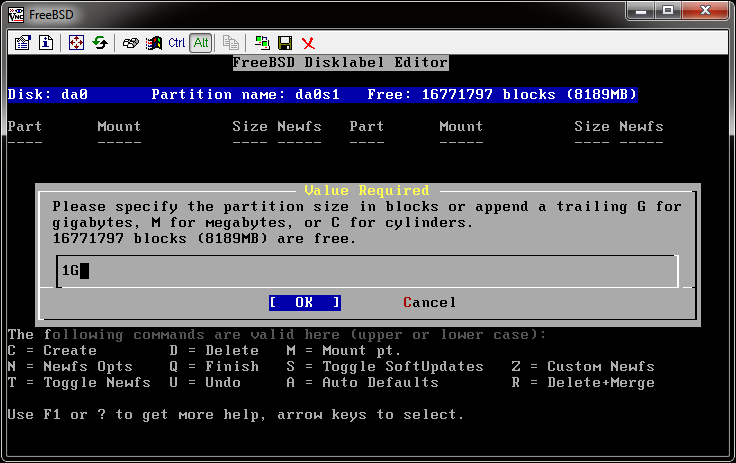
Delete the number with the backspace key. We need to enter a suitable value for swap space here. Take your memory size to the nearest 1GB and double the figure. (e.g. if you have 1GB ram, use the figure 2G) – note you must only put G not GB. press enter to go to this screen:
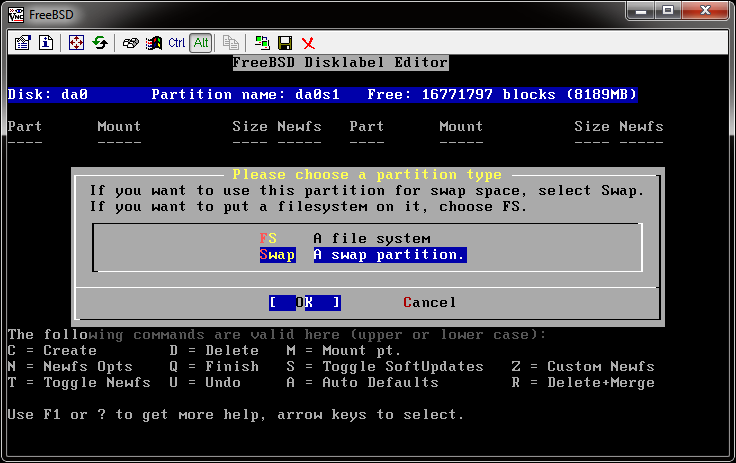
Use the cursor keys to go to "Swap" and press enter. This will take you back to the black screen again. Press C again to go to this screen:
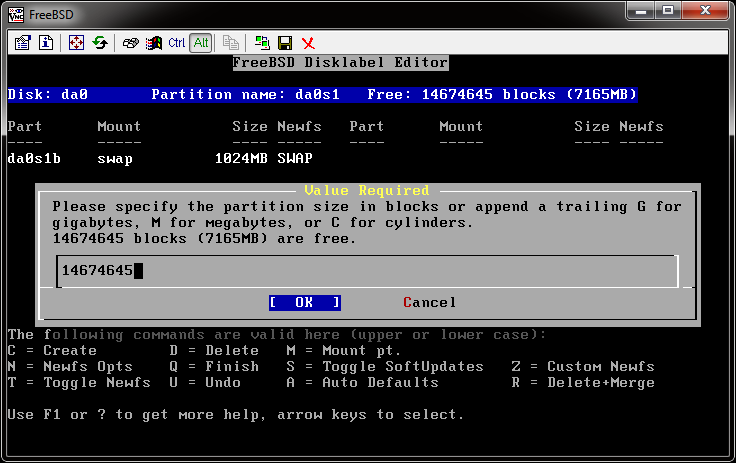
Leave the number that is given in the box for you and press Enter to go to the next screen:
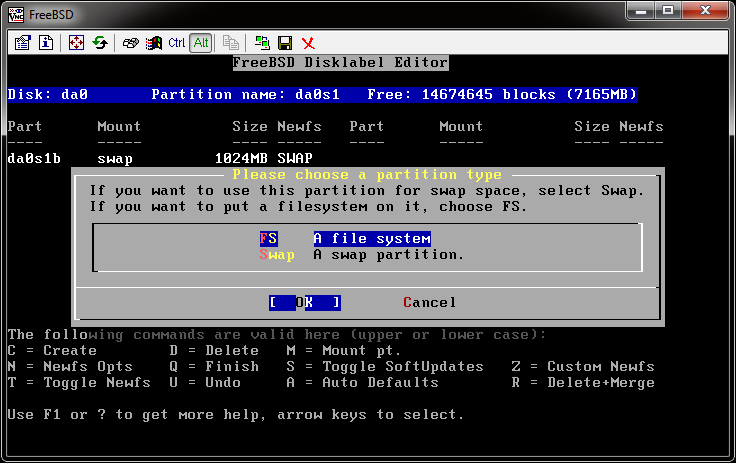
Select "FS" and press enter to go to the next screen:
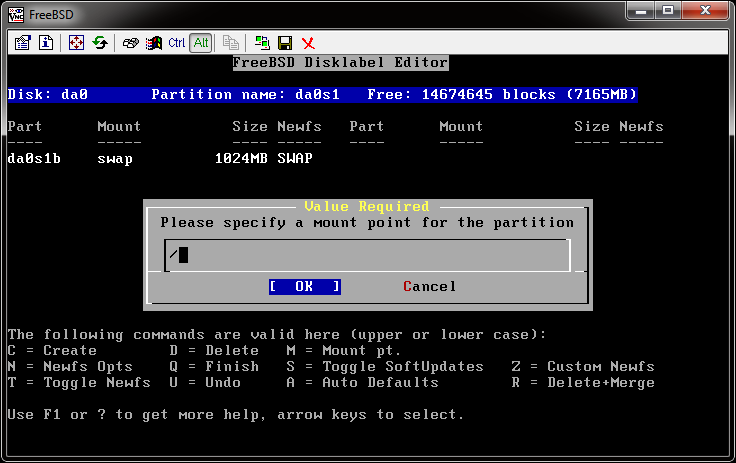
Enter "/" into this box and press enter to go back to the black screen. On this screen, use the cursor keys to go down to the entry listed as mount "/" and press the S key. You will see the newfs item change to "UFS+S" like this image:
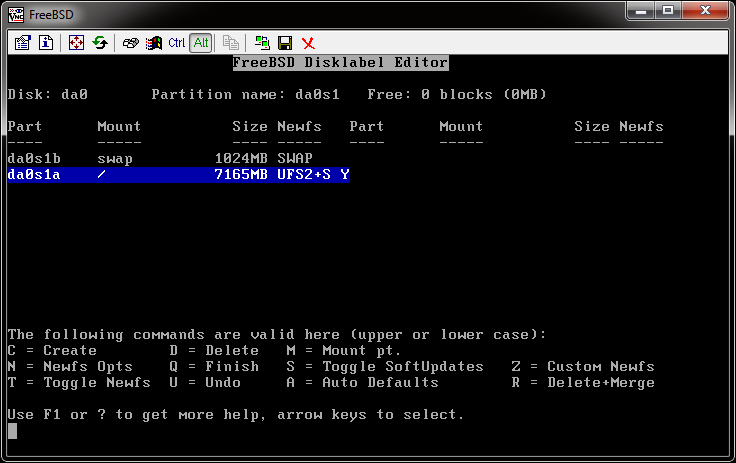
On this screen, you should now just have the "swap" and "/" entries. Press Q to continue to the next step:
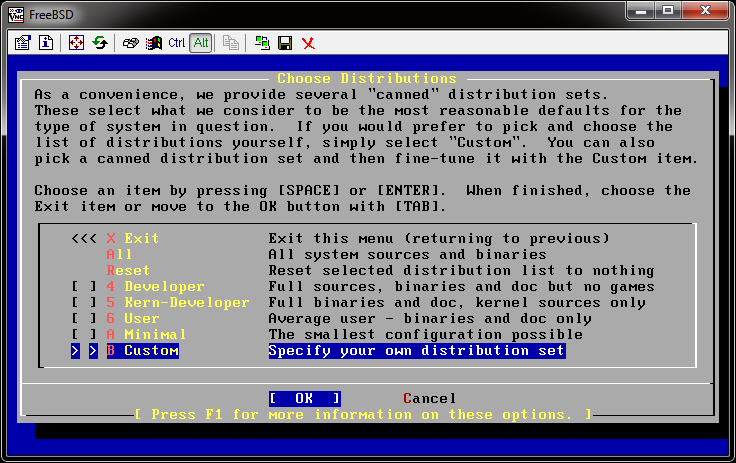
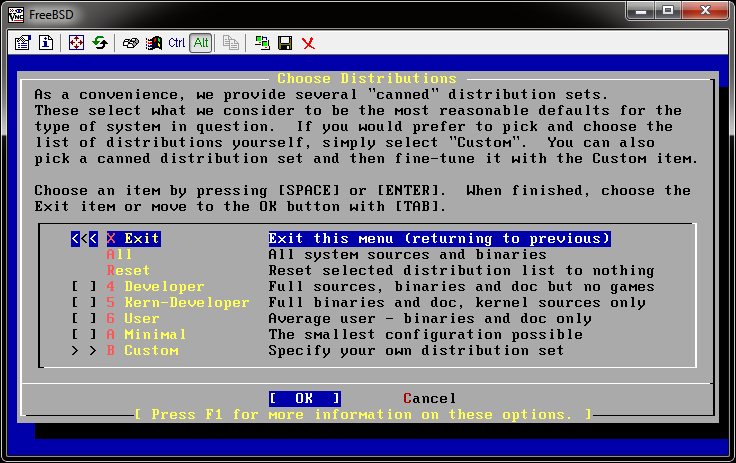
Use the cursor keys to go down to "Custom" and press the space bar to continue to the next step:
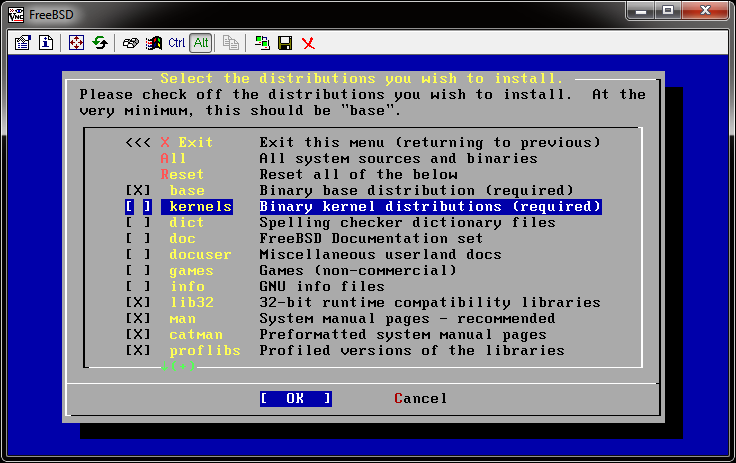
Using the cursor keys and space bar, select the following items on this page: base, lib32, man, catman, proflibs, ports, kernels. When you press space on "kernels", you will be shown this screen:
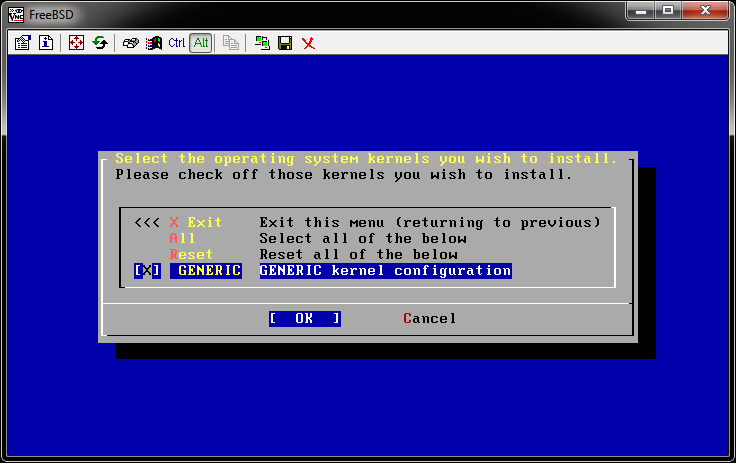
Go down to GENERIC and press space, then back up to Exit and press space. This will return you to the previous screen.
Select SRC using the space bar, when you do, you will be shown the following screen:
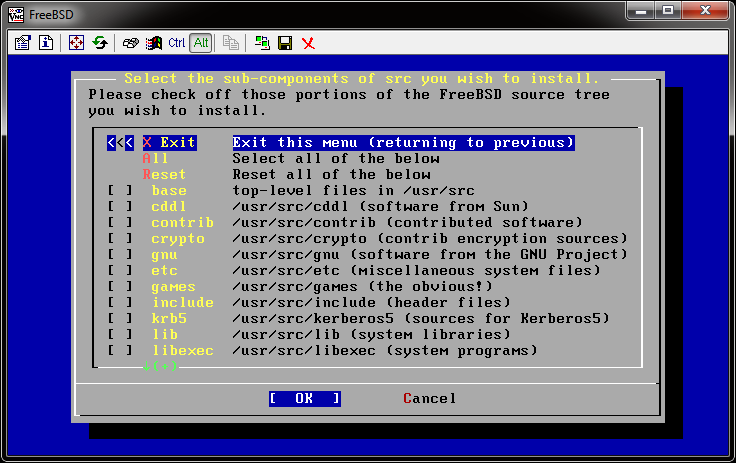
Go down to ALL and press space to select all items, then go to Exit and press space to return to the previous screen like this:
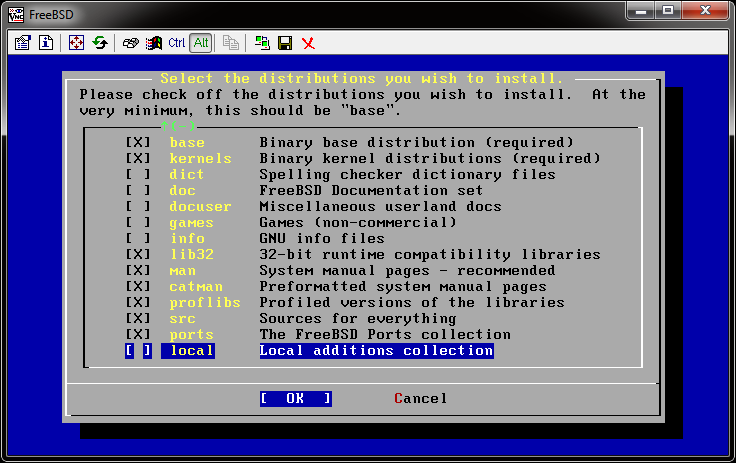
Go back up to Exit at the top of the page and press space to move onto the next step:
Go up to Exit and press space to move onto the next page:
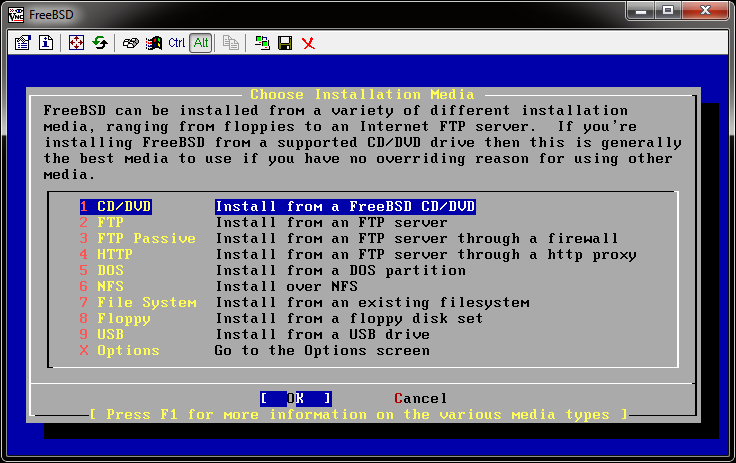
Select CD/DVD here and press enter to move to the next step:

Ok, up to this point you haven't made any changes to your disks. This is your last chance (as it says) to change your mind. Press enter to start formatting your drives:
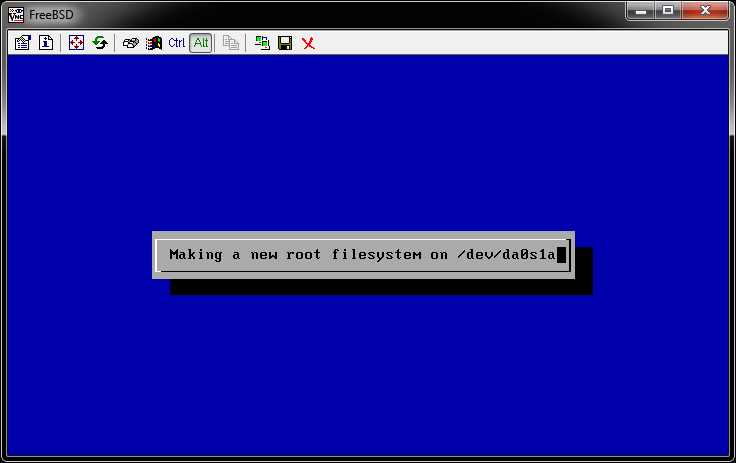
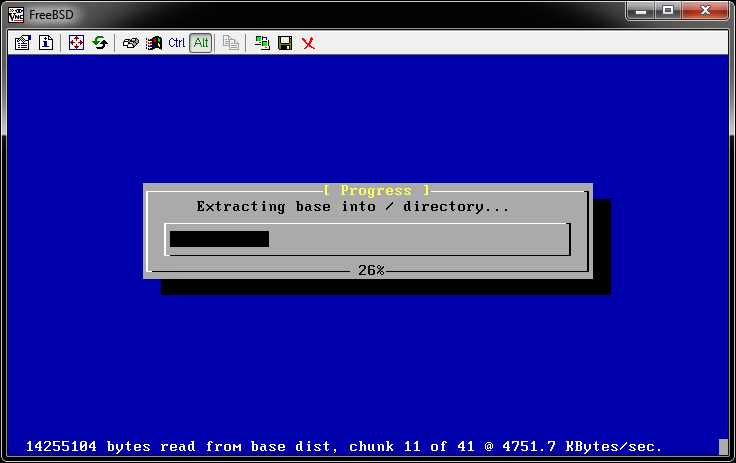
After formatting (only takes a minute or two – similar to a quick format), you will see the following page as it installs files:
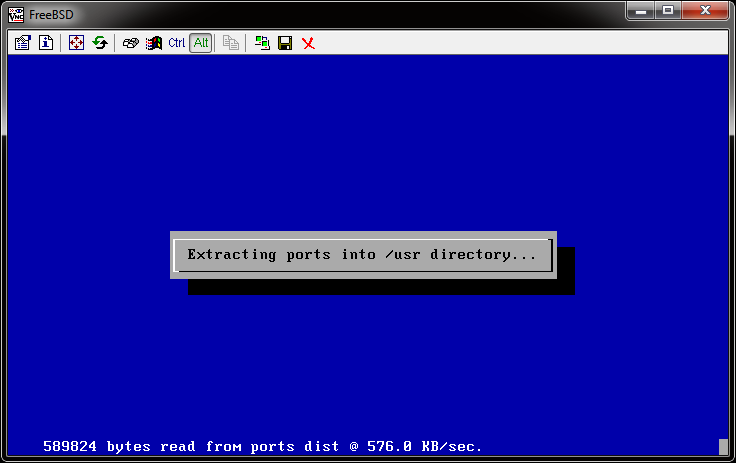
Once all the files have been copied, it will start to install the ports collection. This has no progress bar and will take a while so be patient. The screen looks like so:
Once everything is installed, and ports copied over – it will confirm the installation with the following page:
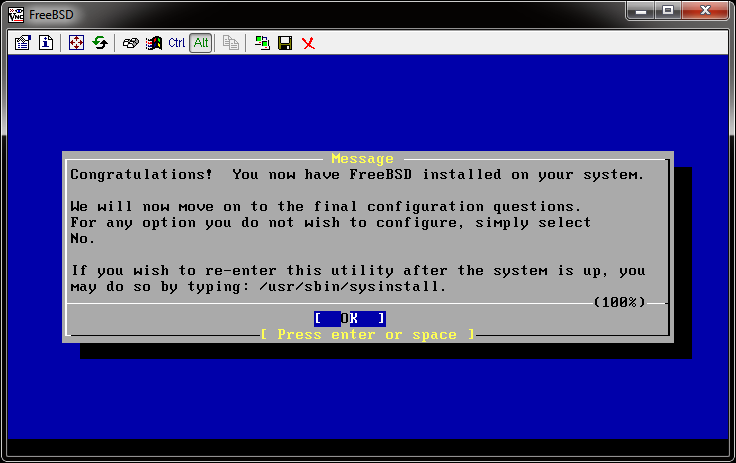
Press enter to move onto the post-installation questions. You will enter the next step:
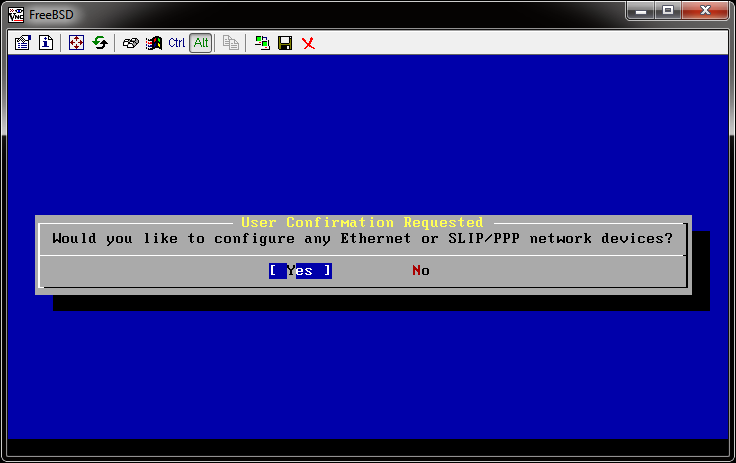
This will allow you configure WIRED networking (if you have wireless networking and do not wish to configure a wired network select NO here!)
If you would like to configure wired networking, select yes and press enter to move to the next step:
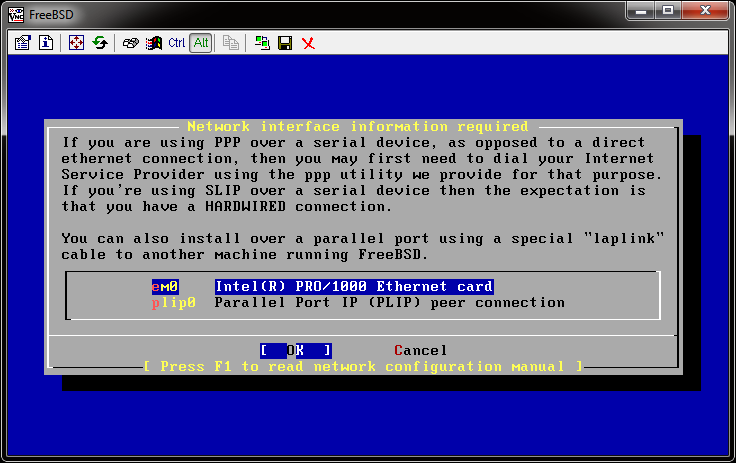
Your network card(s) will be shown here. Network card names depend on your specific card. If you have multiple network cards, you will see multiple lines here. Ignore the plip0 device.
Select the network card you wish to configure and press enter to go to the next step:

Select NO here and press enter. (If you want to use IPv6, enable it after installation). This will bring you to the next step:
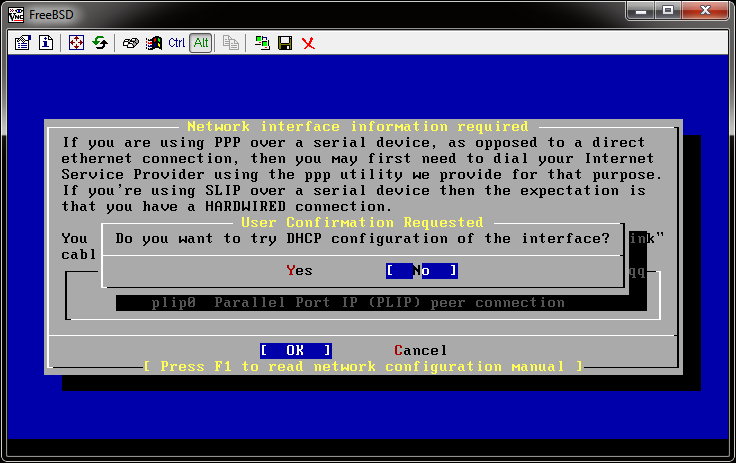
If your network uses DHCP for IP assignments, select YES and continue. Otherwise select NO for static configuration. The next page is identical regardless of which you choose – except with DHCP it will part-fill out IP addresses for you as given by DHCP. The next page looks like this:
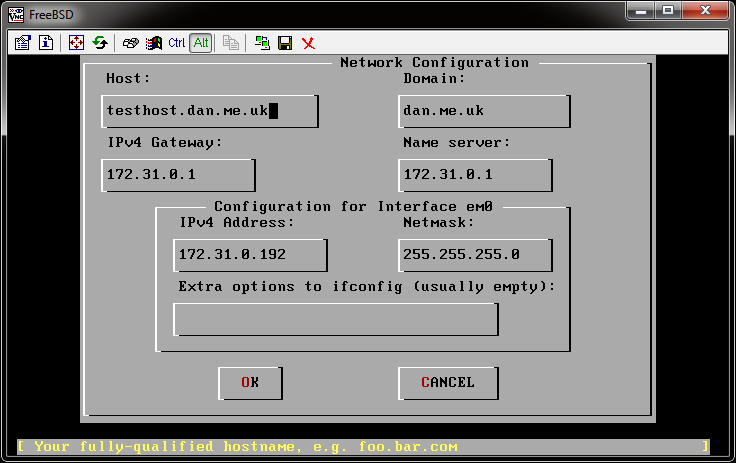
Fill out the host name and press tab. This will auto-populate the domain section unless DHCP already did it for you. If you chose not to use DHCP (or no DHCP servers were found), you will need to fill out gateway, nameserver, ip address and netmask fields. Use the tab key to move between fields. When done, tab until OK is highlighted and press enter to move onto the next screen:

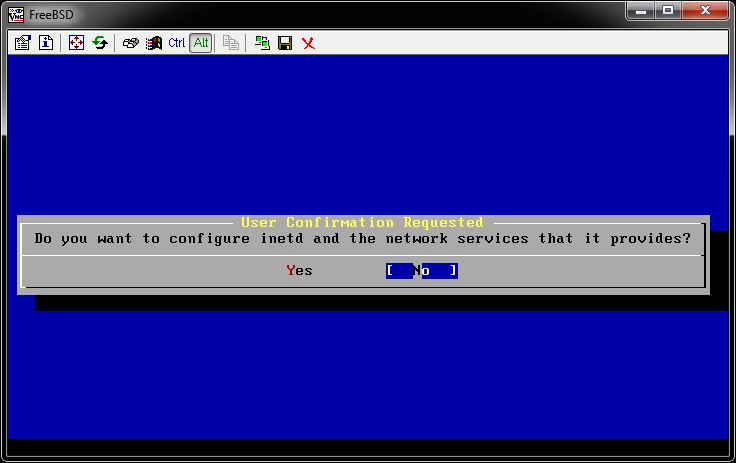
Select NO here and press enter to move to the next step:
Select NO and press enter to move to the next step:
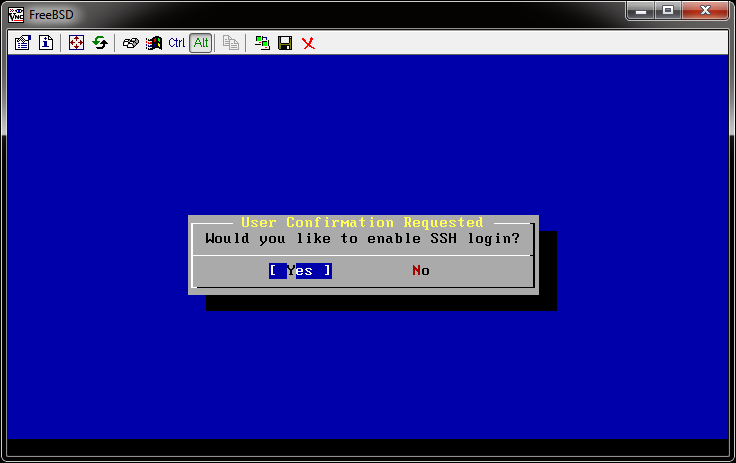
If you require access from outside of your computer (e.g. if it is a server, or if you like to remote access it from other computers etc), select YES here. Otherwise select NO. Either choice will move to the next screen:
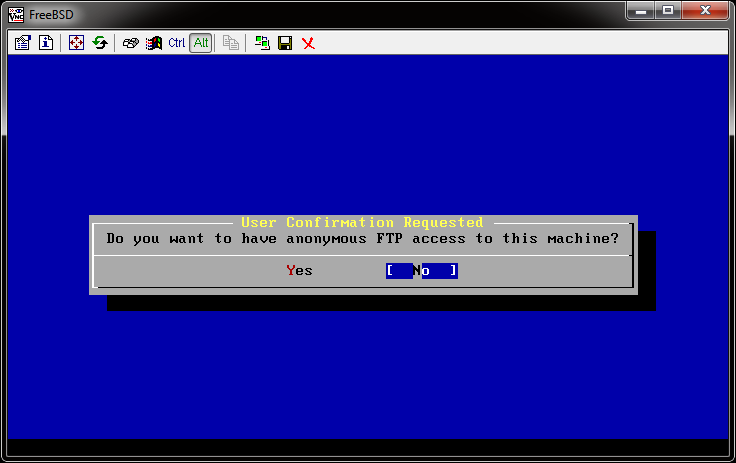
Select NO here and press enter to continue to the next step:

Select NO here as we can configure this later if you want to use it. This will continue onto the next stage:
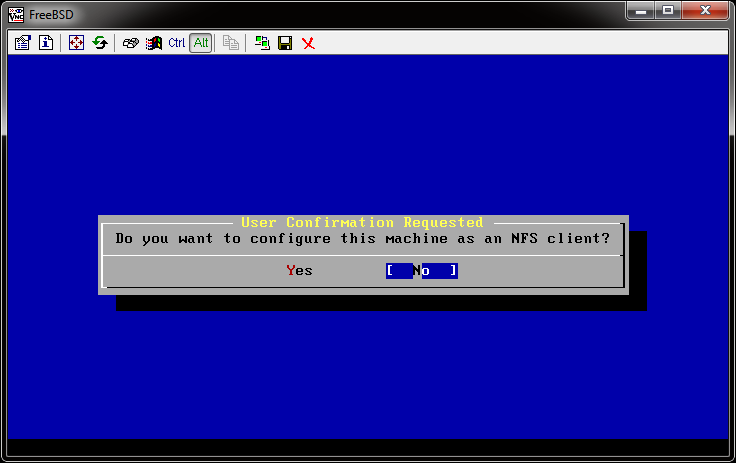
Select NO here to move onto the next step:
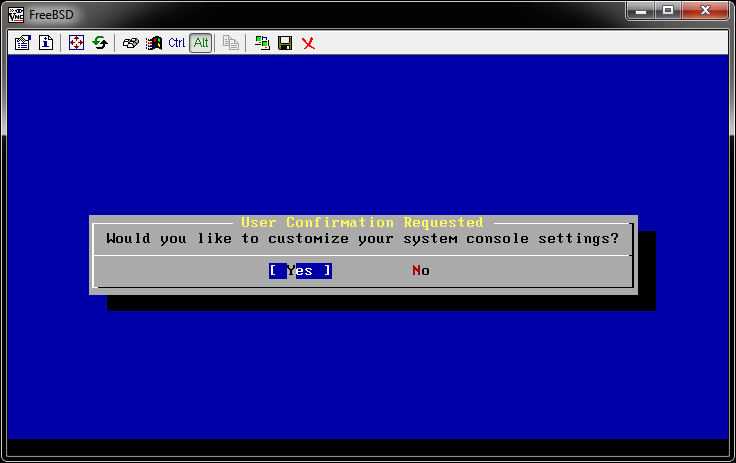
Select YES here as we want to configure our console settings to something a little nicer. This will move onto the next page:

Move down to FONT and press space to move to the next page:
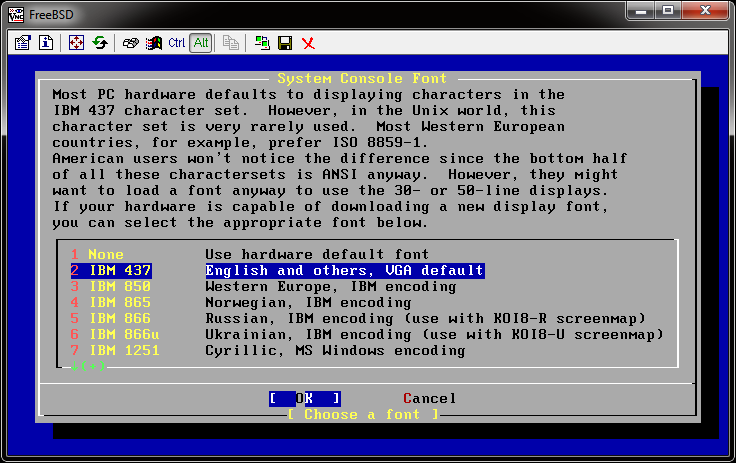
Select the best font for you. For me, this is IBM 437. Press enter to return to the previous page.
Select KEYMAP and press space to move to the next page:
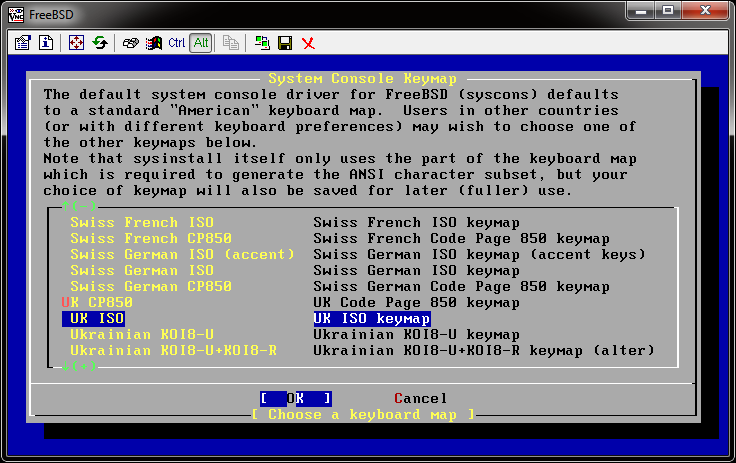
Select the best codepage for you. For me, this is UK ISO. Press enter to return to the previous page.
Select REPEAT and press space to move to the next page:
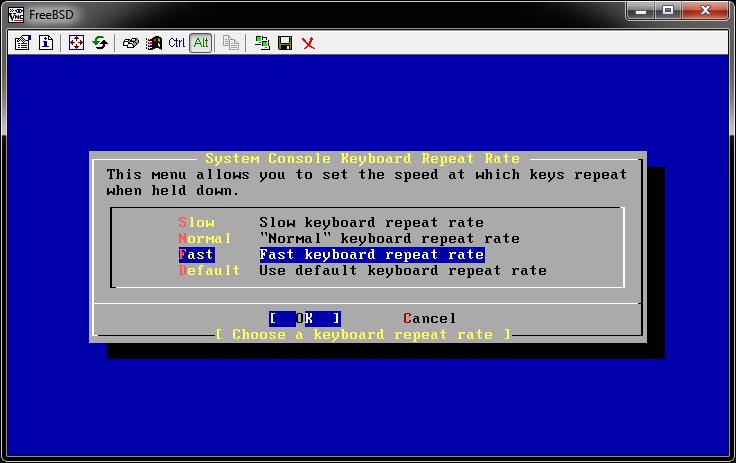
Select FAST and press enter to return to the previous page.
Select SCREENMAP and press space to move onto the next page:
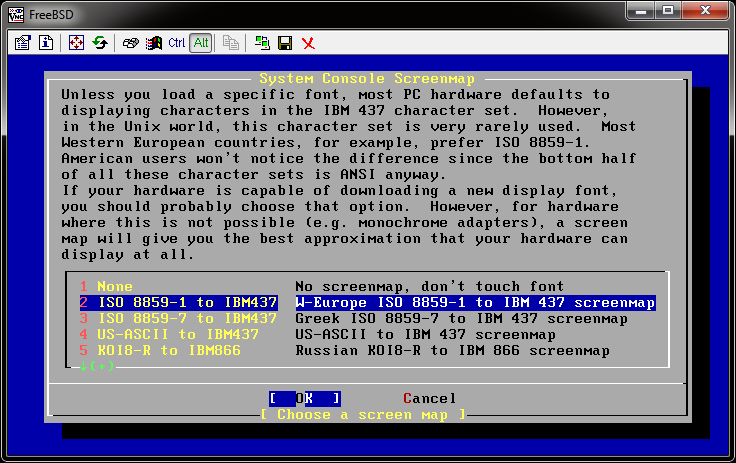
Select the best screenmap for you. For me, this is ISO 8859-1 TO IBM437. Press enter to return to the previous screen.
Move up to EXIT and press enter to move onto the next page:
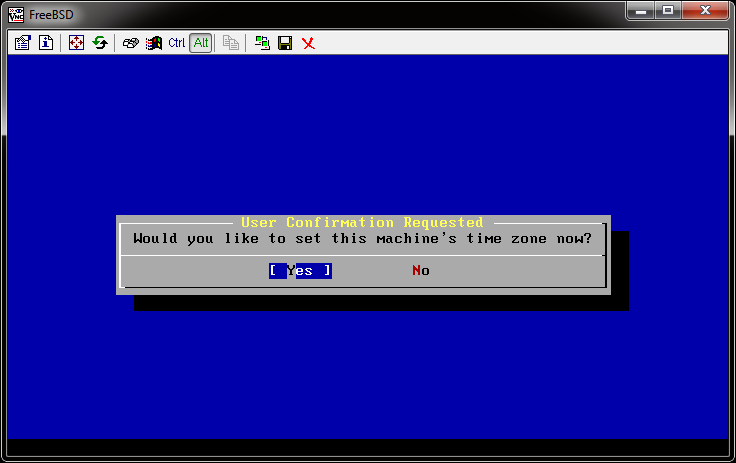
Select YES to set our timezone, this will move onto the next screen:
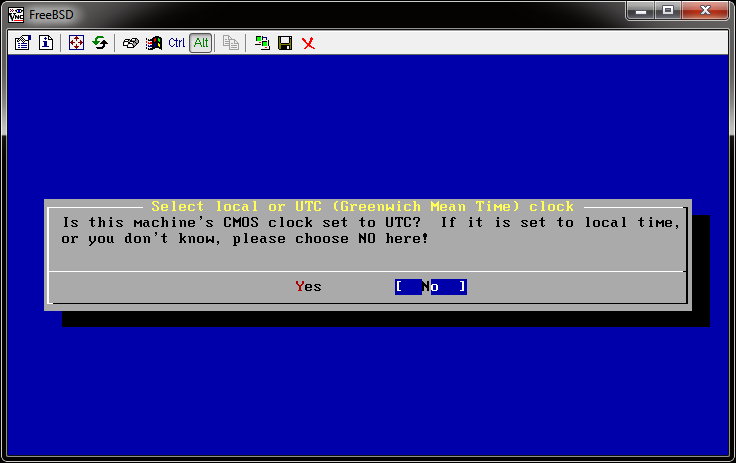
Select NO here to move onto the next screen:
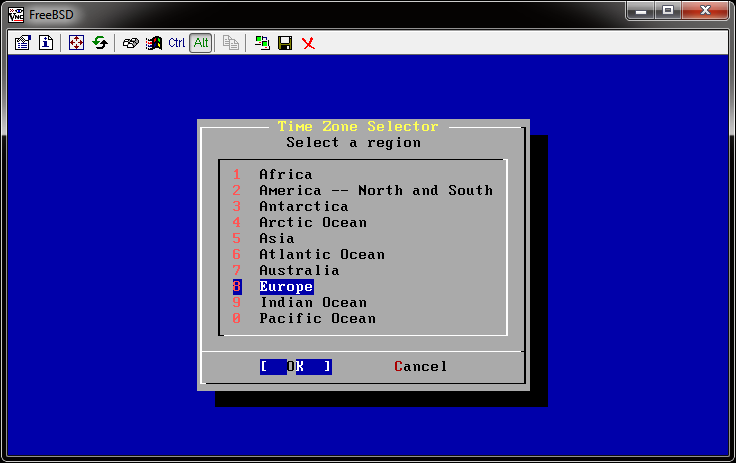
Select your region from the list. For me, this is EUROPE. Press enter to go to the next screen:
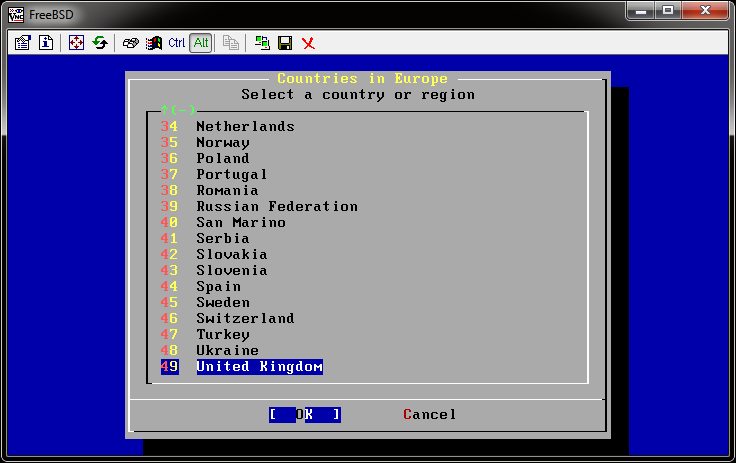
Select your country/region from the list. For me, this is UNITED KINGDOM. Press enter to move to the next screen:
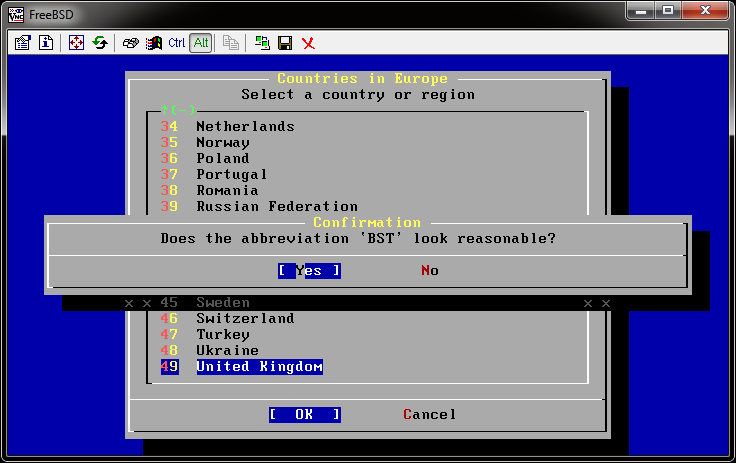
Check the timezone abbreviation is correct and say YES if it is. For me, this is BST or GMT depending on summer time. If you select NO you will go back to the previous page to reselect. Selecting YES moves to the next step:

Select YES to move to the next step:

Don't bother selecting any details in this page (they will be autodetected) – just go to EXIT and press enter to move to the next screen:
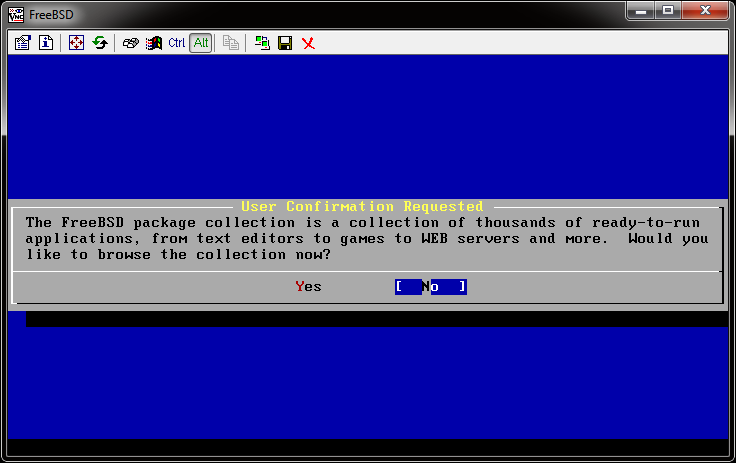
Select NO so that we do not install any packages. This will move to the next page:

Select YES to add a user to the system. This will move onto the following page:
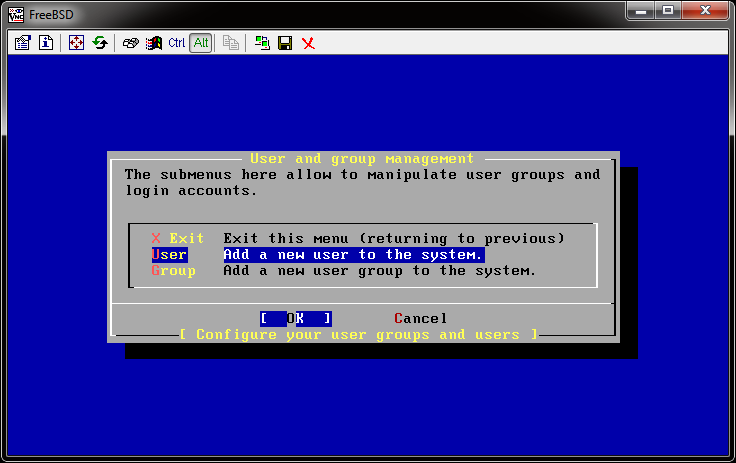
Move down to USER and press enter to move onto the next page:
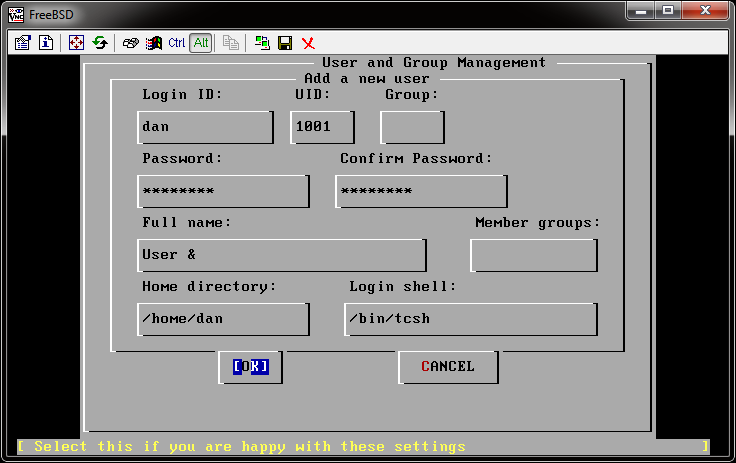
Add your username (all in lowercase) and use TAB to move between fields. Enter a password and confirm in the relevant boxes. In 'Member groups' put wheel (in lowercase). Your home directory will automatically be set based on your login id. The default shell is /bin/sh however I prefer /bin/tcsh. TAB to OK and press enter to continue.
This will go back to the add user menu, select EXIT and press enter to move onto the next page:
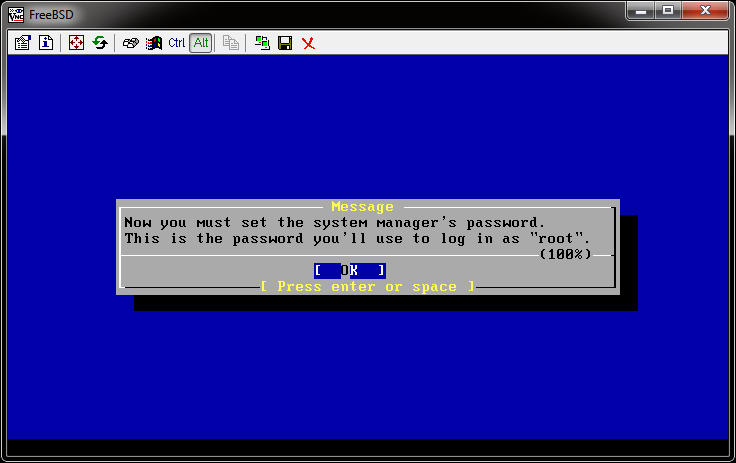
Select OK to set a new root password for your computer. The screen will look like this:
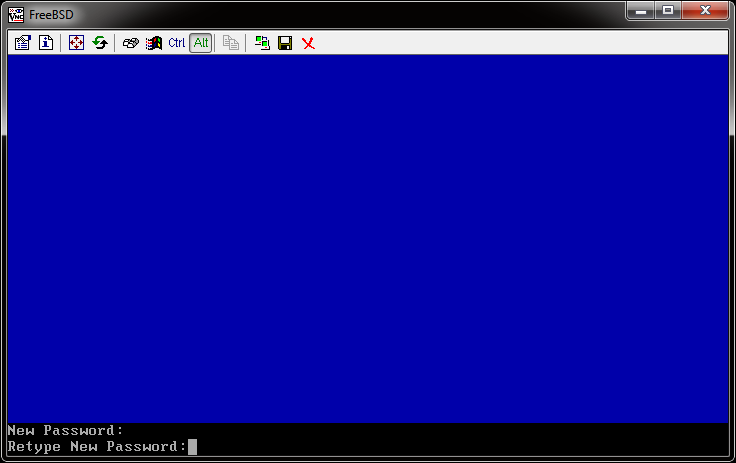
Enter your new root password twice to continue to the next page:
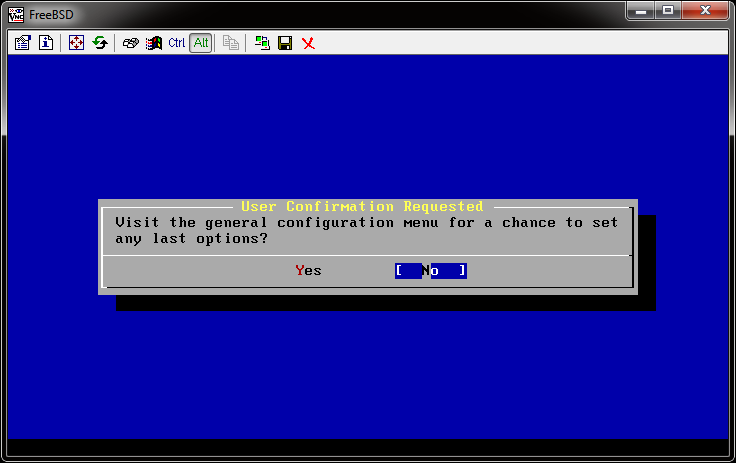
Select NO to continue to the next screen (the original installation screen):
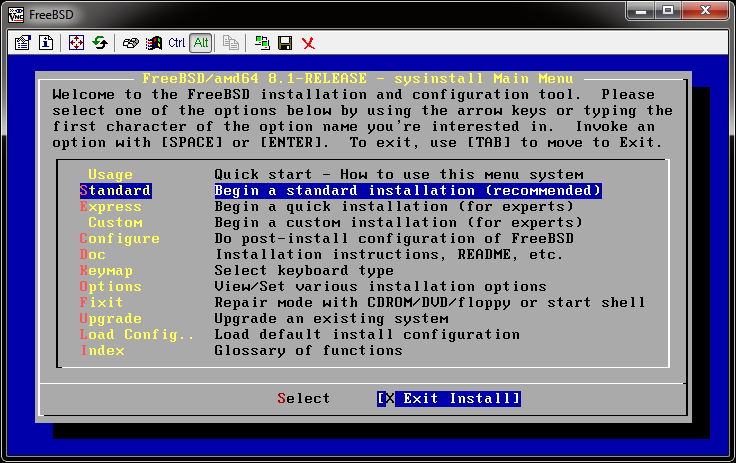
Use the right cursor key to select EXIT INSTALL and press enter to continue.
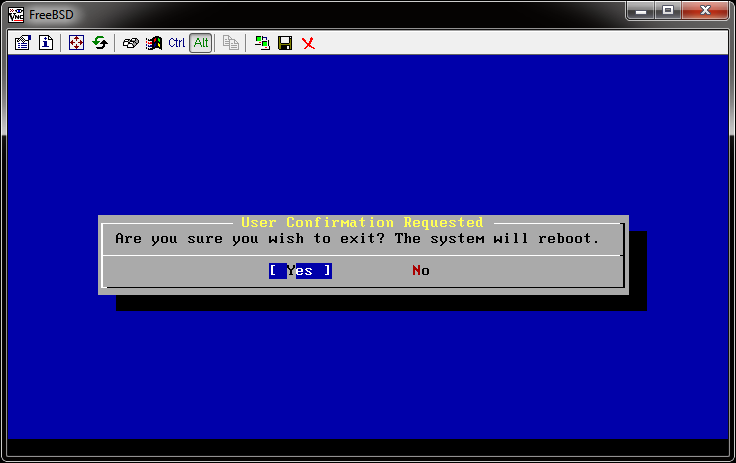
Select YES to confirm you want to reboot.
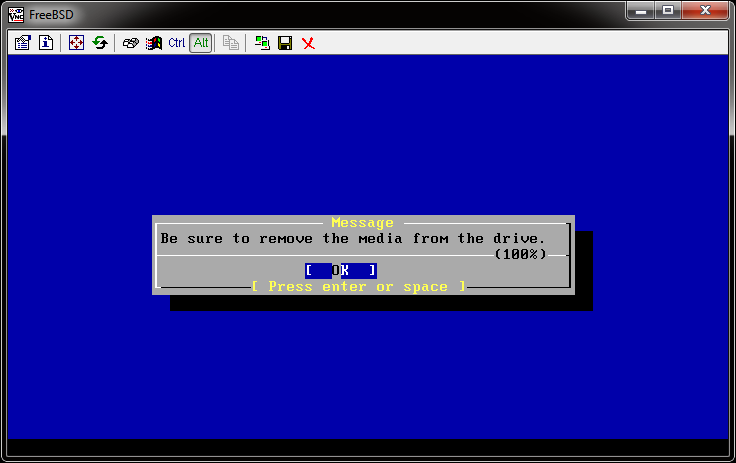
Remove the CD/DVD from the drive and press ENTER to reboot.
When the computer as rebooted (assuming no problems) you will be presented with a login prompt like this:
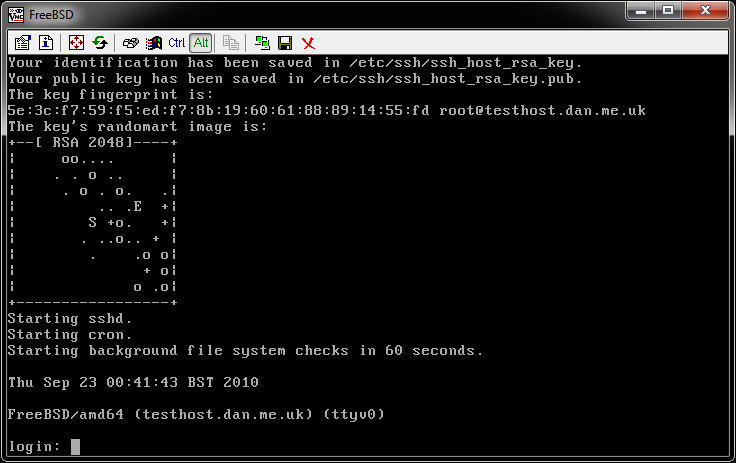
Your computer is now installed and ready to use. See my other posts for information on how to perform other tasks.
I hope this helps anyone hoping to install FreeBSD, and I welcome any questions.